Audio recordings can be automatically deleted on a periodic basis.
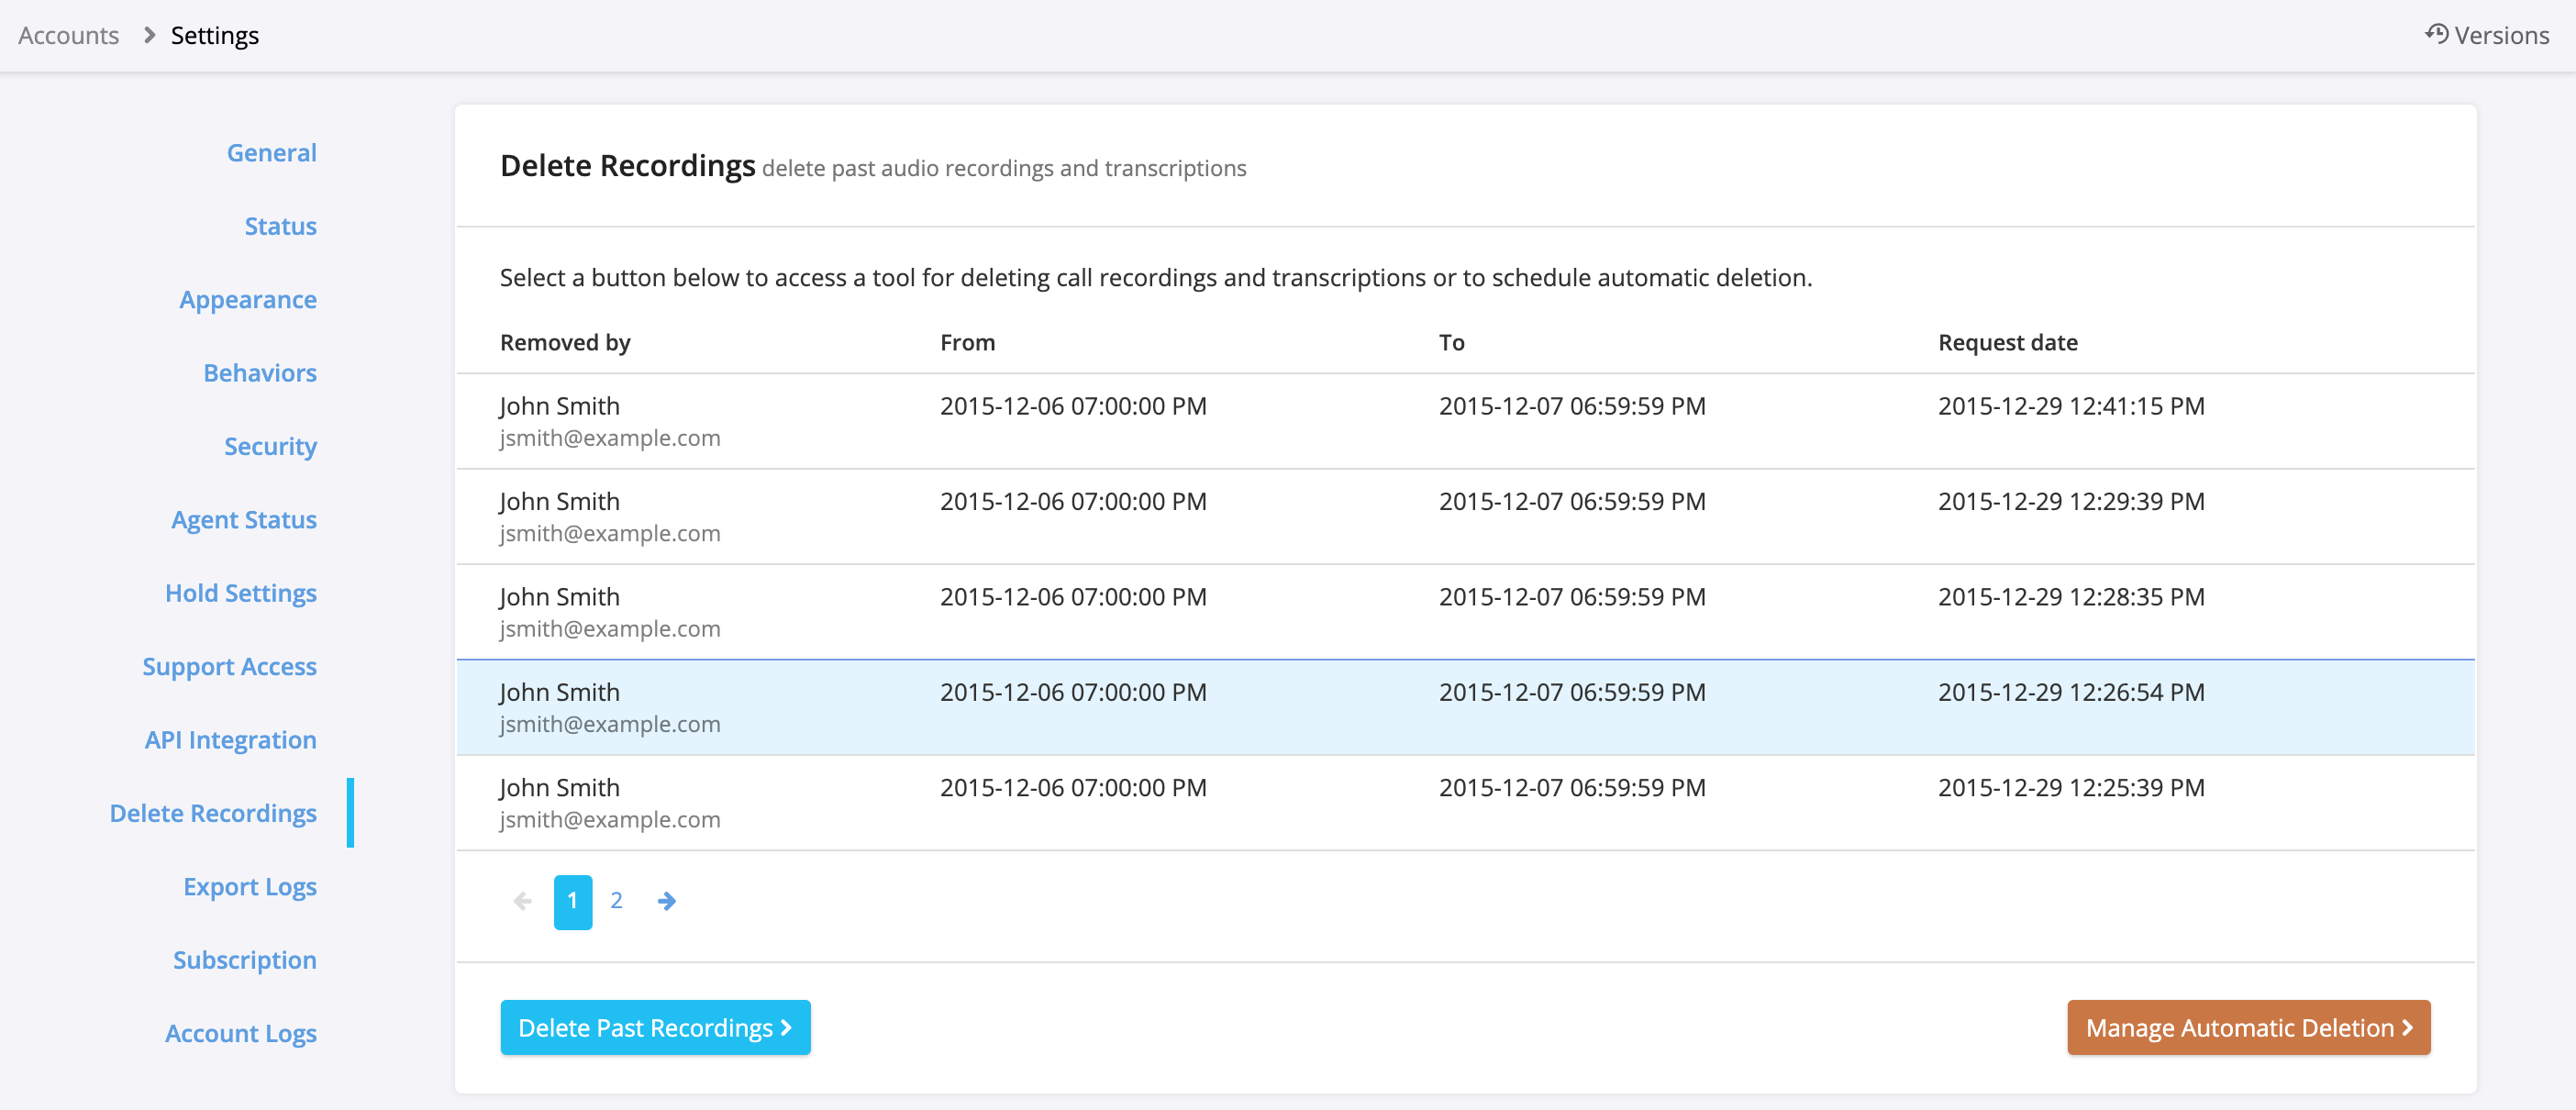
- Navigate to Settings → Account Settings
- Click Delete Recordings on the left menu (or scroll down to the Delete Recordings section)
- Click the Manage Automatic Deletions button
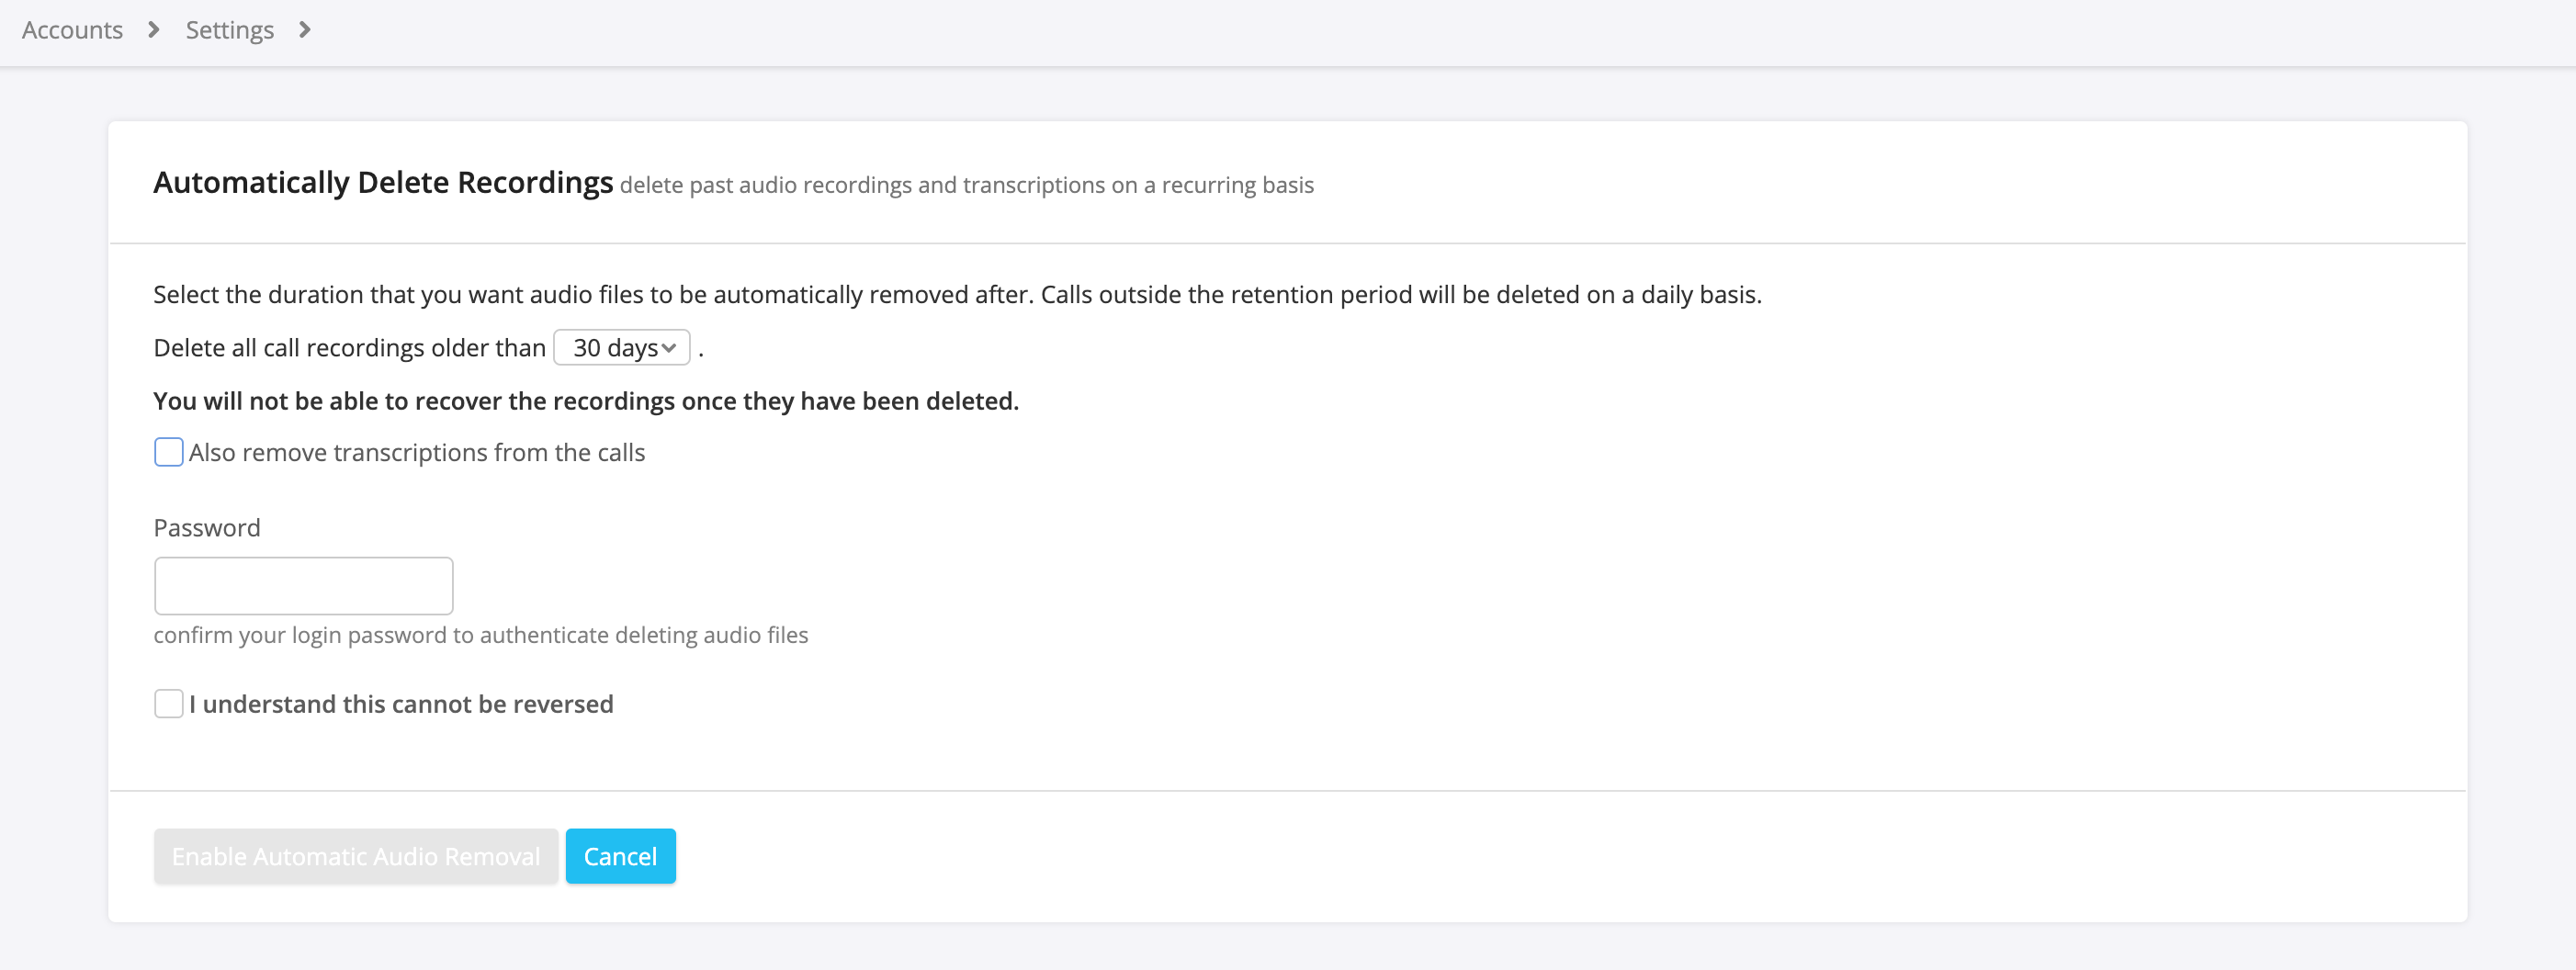
On the next screen, you can select which recordings to remove (older than 30, 60, or 90 days.) You can also determine whether or not to remove transcriptions related to the recordings.
- Enter your password
- Check next to “I understand this cannot be reversed”
- Click the Enable Automatic Audio Removal button
NOTE: When you enable automatic removal, audio recordings older than your selection are immediately deleted and cannot be recovered.
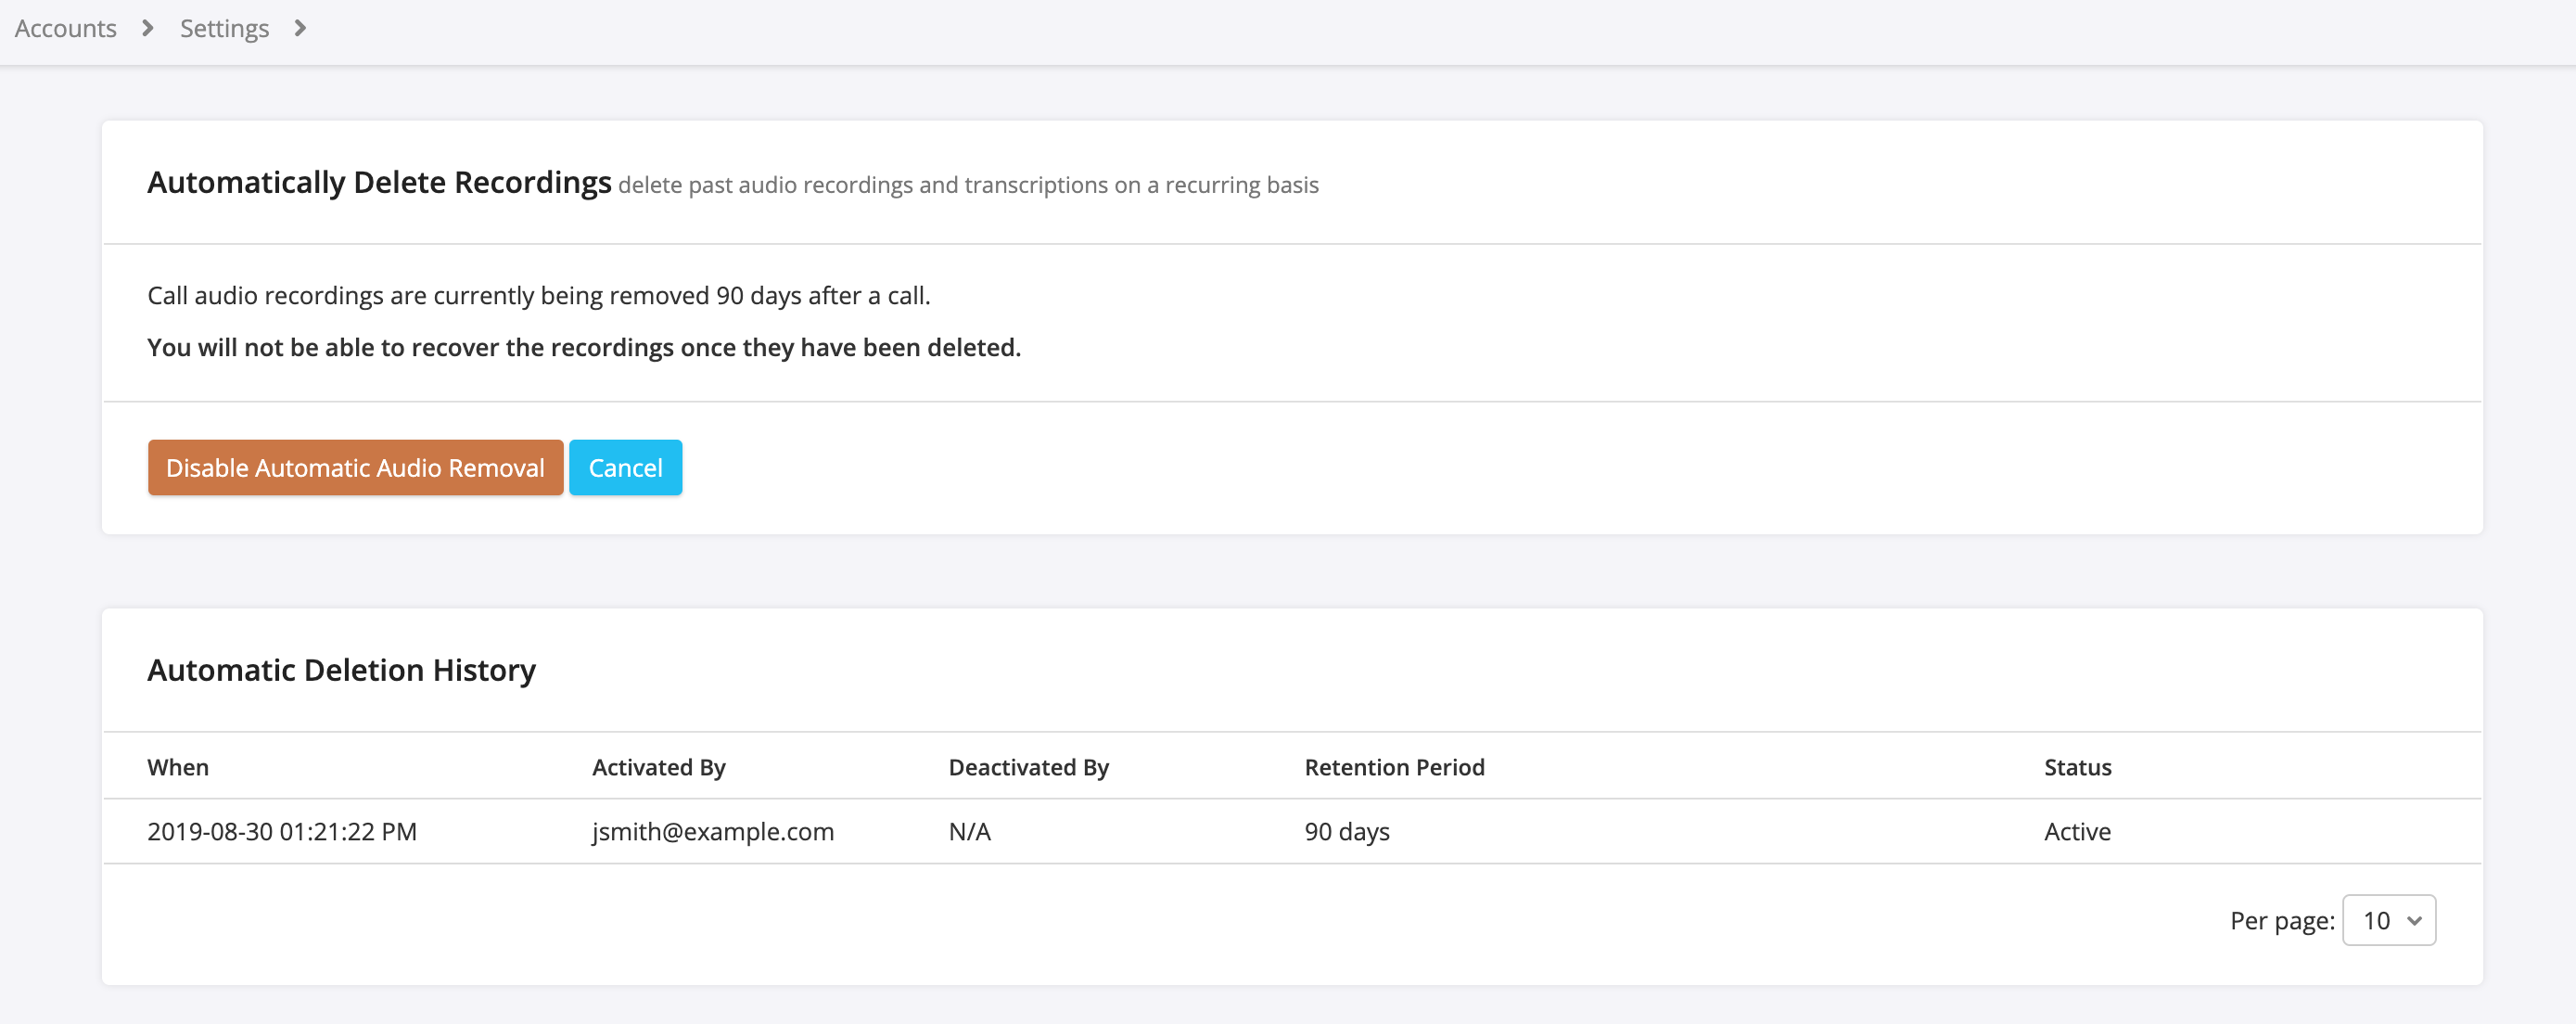
Once enabled, the account is checked once per day for recordings that should be removed.
If you want to stop the automatic process, you can return to the Manage Automatic Deletions screen and click the Disable Automatic Removal button.
Additionally, on this screen, you can see who enabled or disabled automatic removal.
NOTE: As a safety feature, if a user who enabled automatic removal of audio is either removed from the account or is demoted from the Admin role, automatic removal of recordings will be disabled the next time the process runs.
Comments
Article is closed for comments.